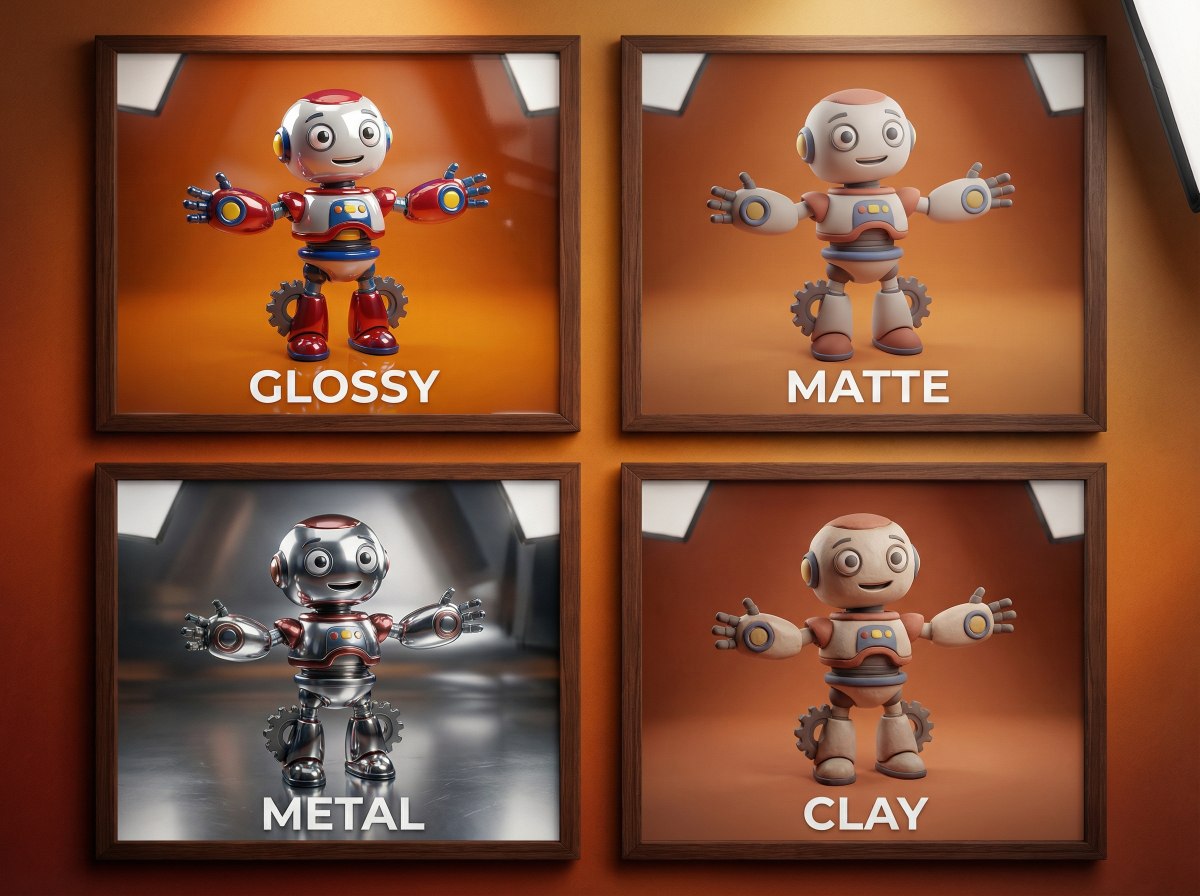
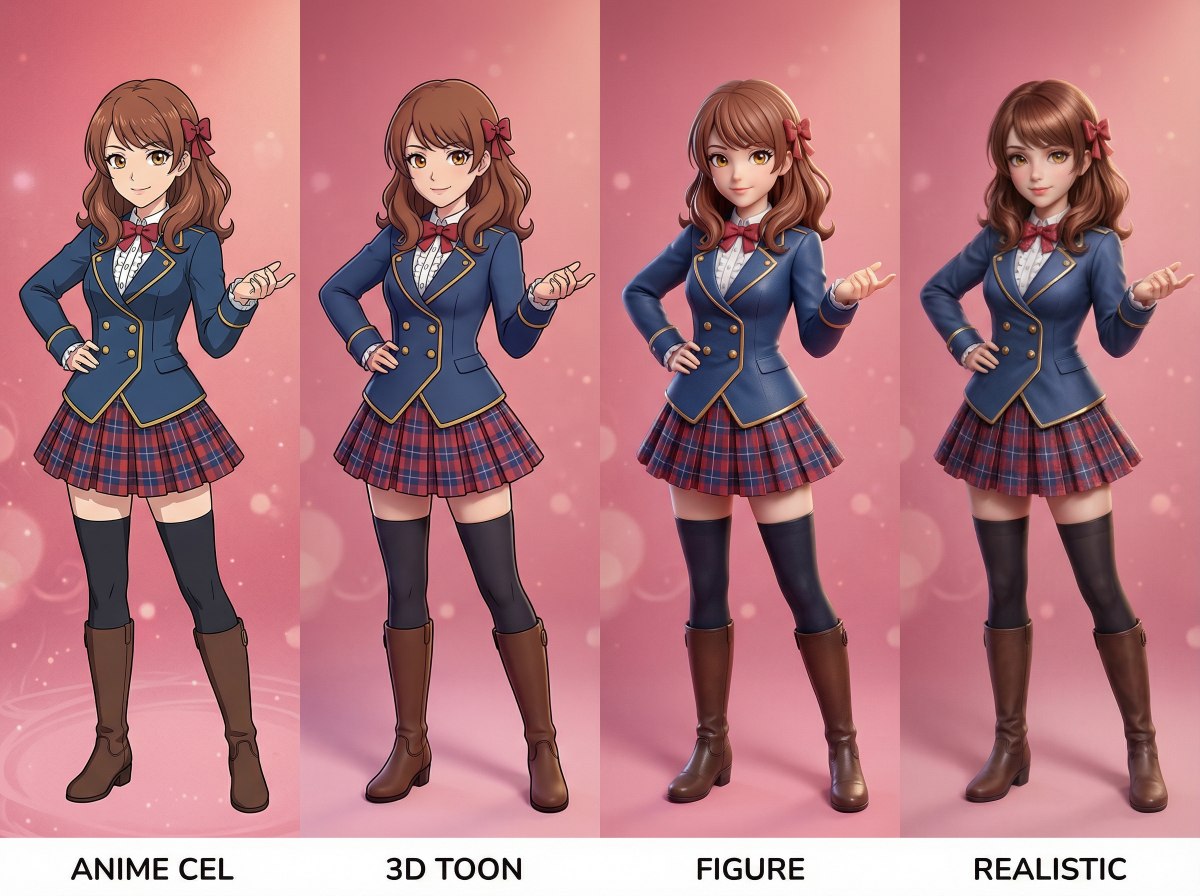
2D Photo to 3D
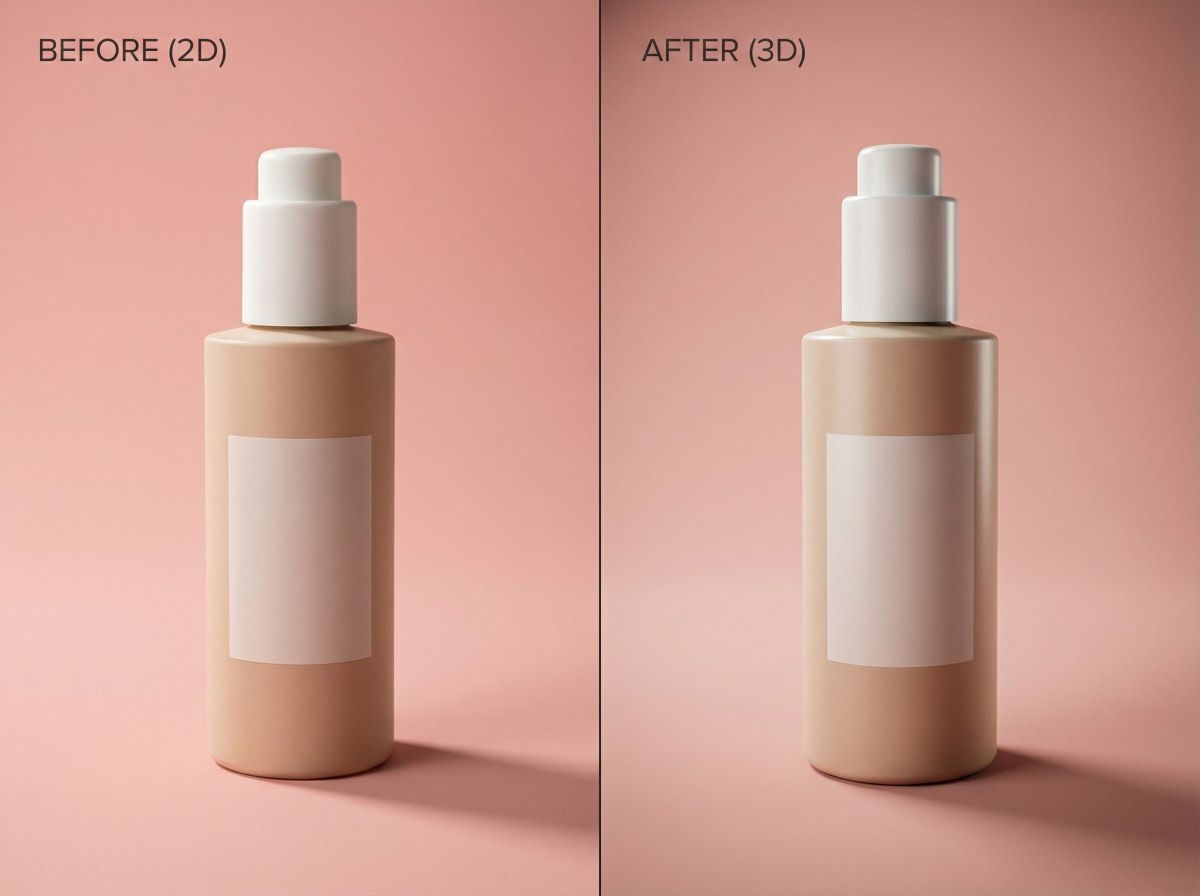
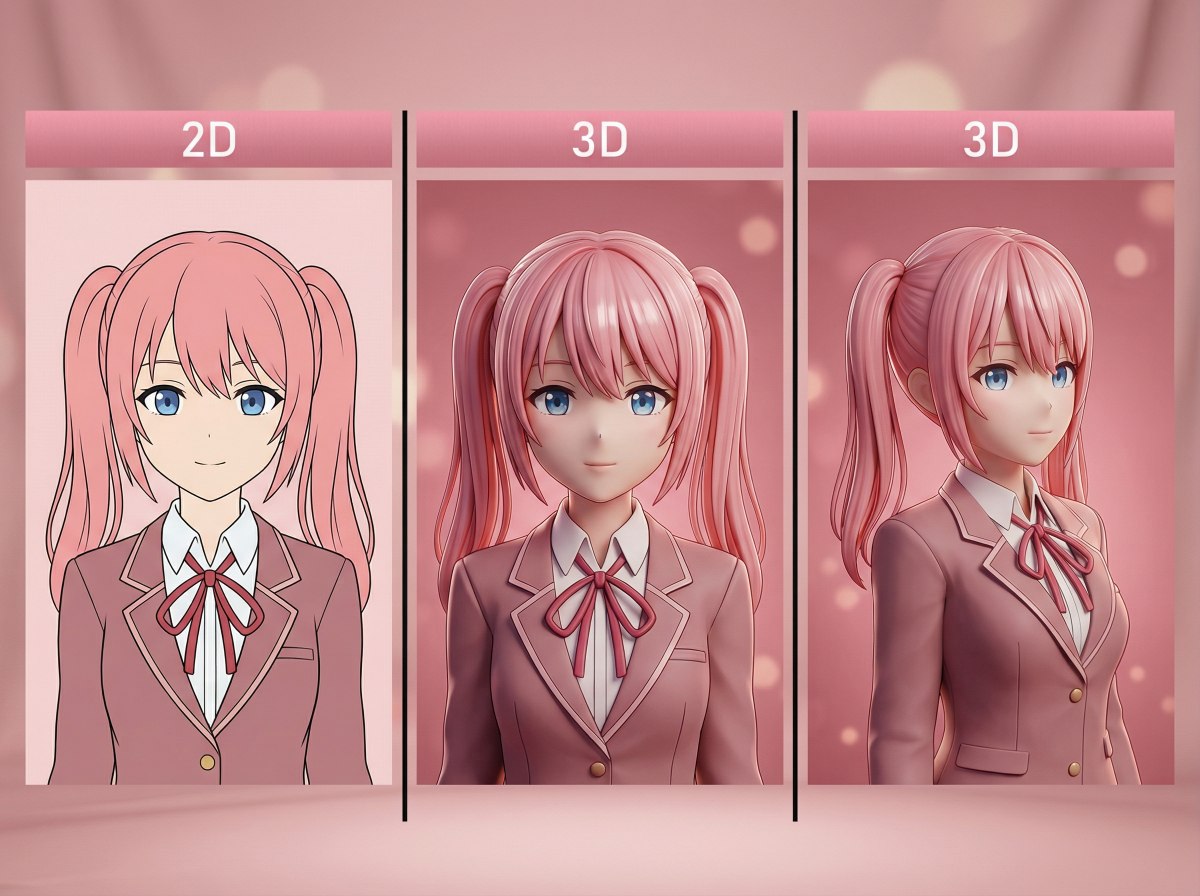
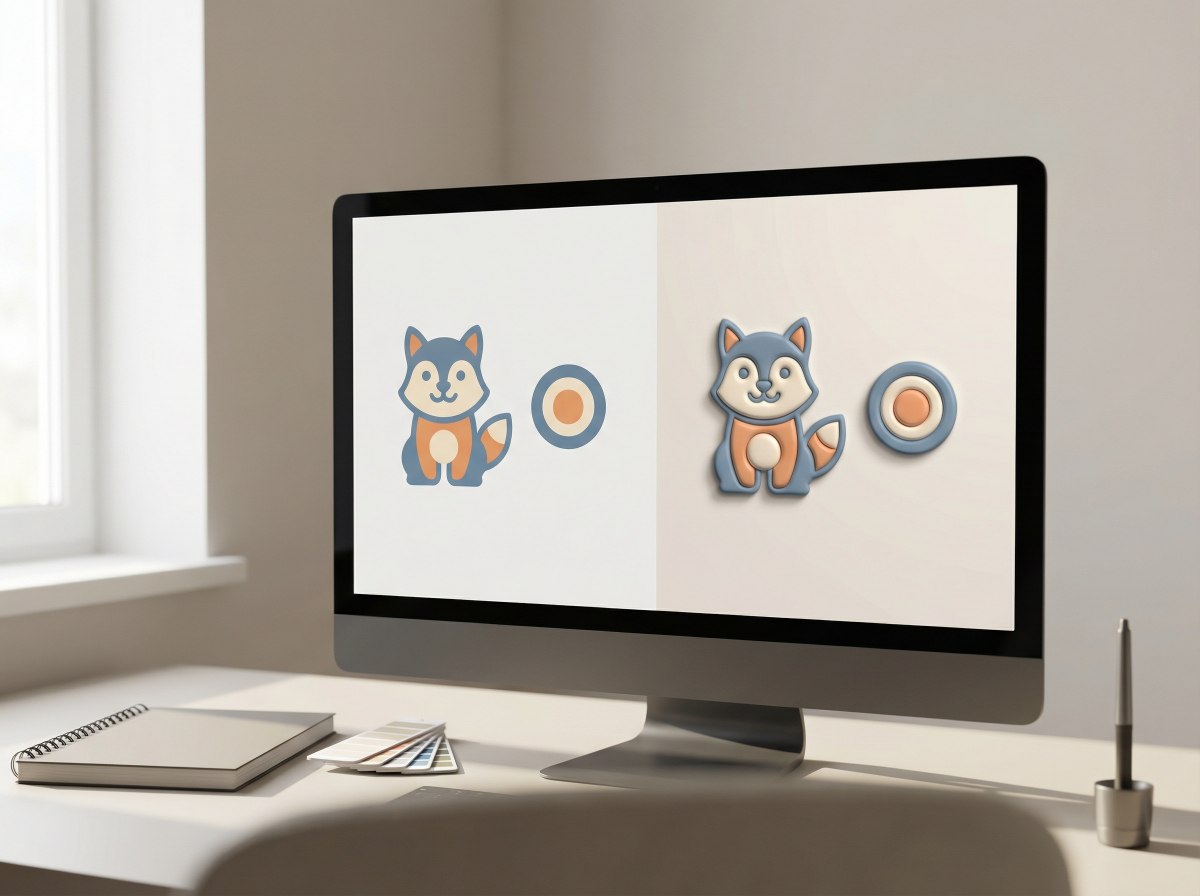
Turn a flat shot into something that feels tangible. This 2D photo to 3D workflow adds depth, cleaner edges, and a more “scene-ready” look—useful for product mockups, character cards, thumbnails, or quick visual experiments.

Explore 2D to 3D Conversion Features
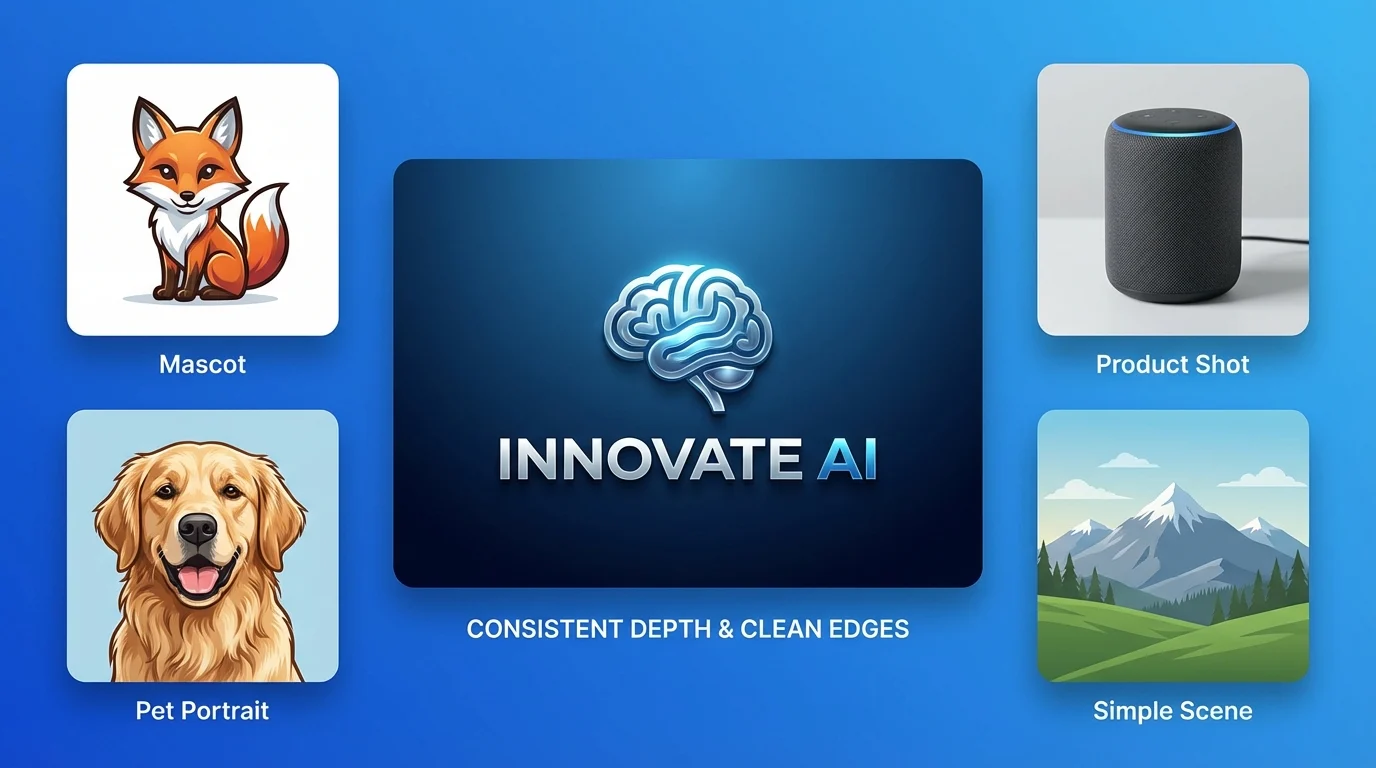
Multi-Subject 2D to 3D (People, Products, Pets, and More)
Convert more than one subject type with the same workflow—portraits, product shots, pets, mascots, and simple scenes—while keeping depth cues readable and the main details intact. Made with OCMaker AI and refined via image to image.
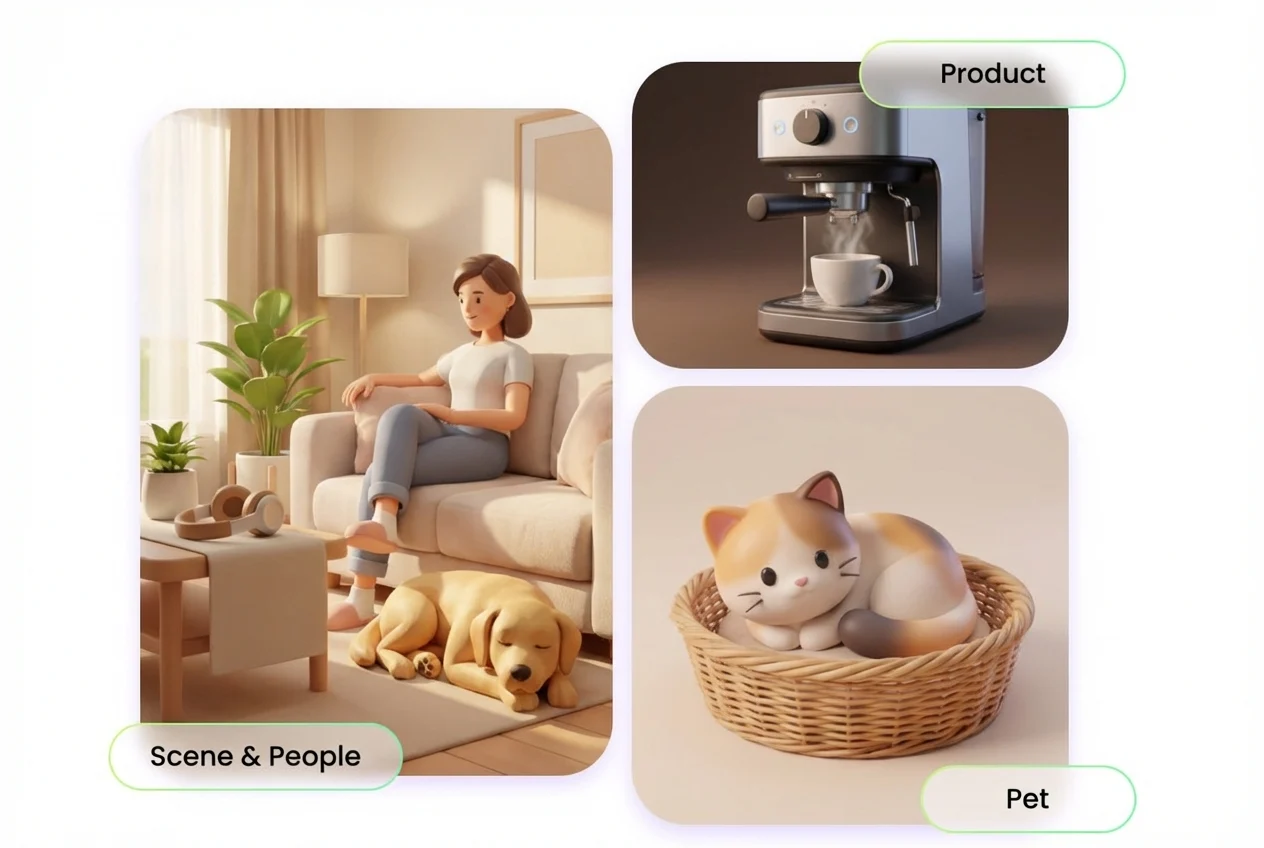
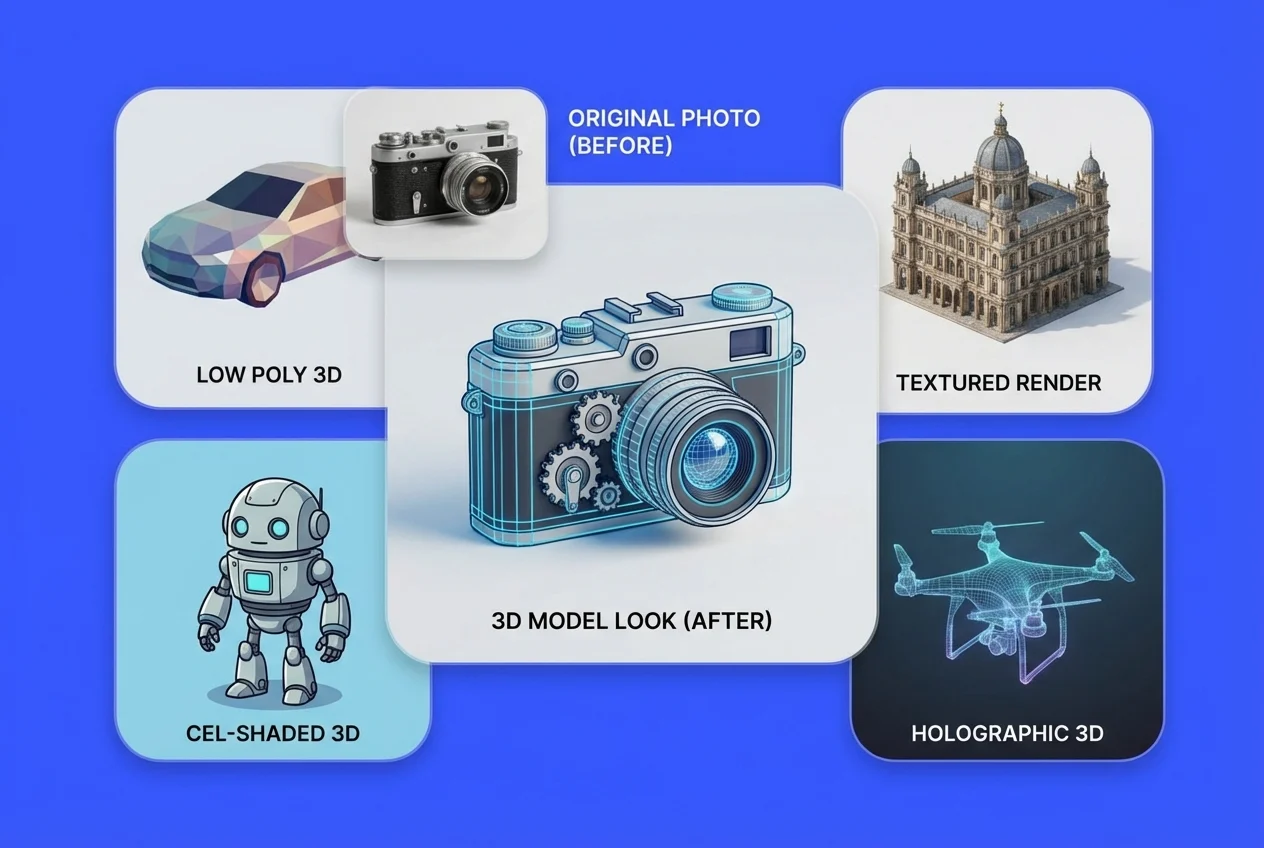
Photo to 3D Model Look (Fast and Clean)
Upload a clear photo and generate a photo to 3D model style result that reads well at a glance—stronger subject separation, more believable depth, and a punchier silhouette.

Depth That Stays Consistent
Cleaner depth, cleaner edges, fewer broken details. Ideal for logos, mascots, product shots, and single-subject images that need a stable look.
One workflow works across multiple subjects—portraits, products, pets, mascots, and simple scenes—so results stay readable and the important details don’t get lost.

How To Convert 2D to 3D?
Upload One 2D Photo
I start with the cleanest frame I have: sharp subject, minimal blur, and a background that doesn’t fight the silhouette. One good upload saves three rounds of fixing later.
Edit the Prompt Before You Generate
Treat the prompt like a quick 3D brief. I add what the image can’t say clearly: subject type (person/product/prop), material cues (metal, plastic, cloth), and what must stay consistent (face, logo, edges). If something is wrong in the first output, I don’t re-upload—I tighten the prompt and regenerate.
Download, Then Iterate Only if Needed
I download the best version and use it right away. If it’s not quite there (depth too soft, edges messy, surface looks off), I keep the same image and optimize the prompt: one change at a time—stronger depth, cleaner edges, or clearer material notes—then regenerate until it lands.